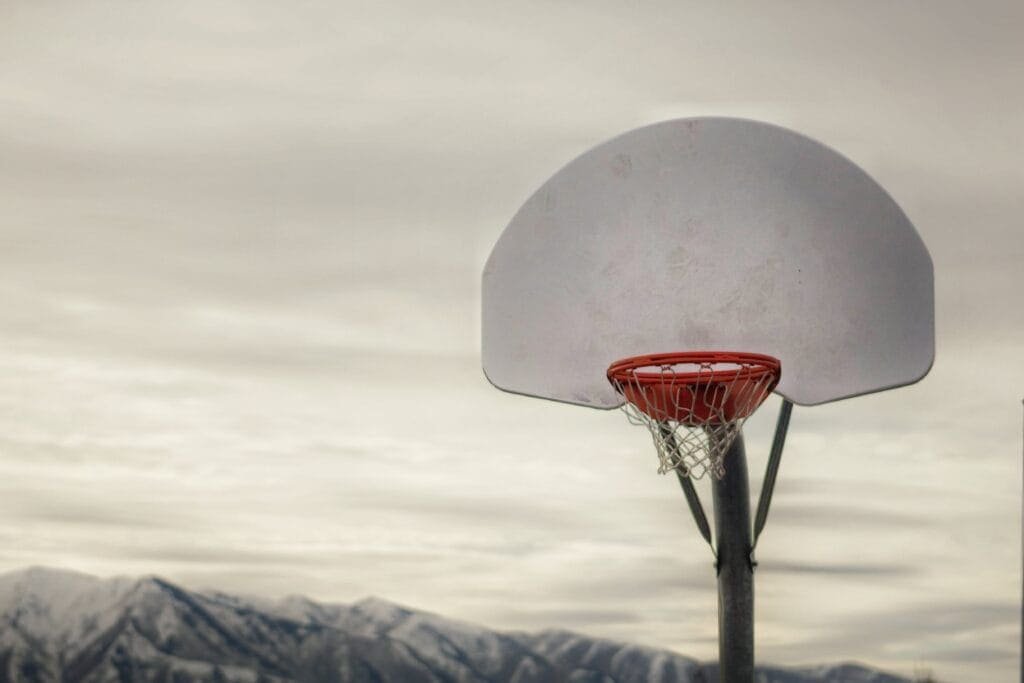
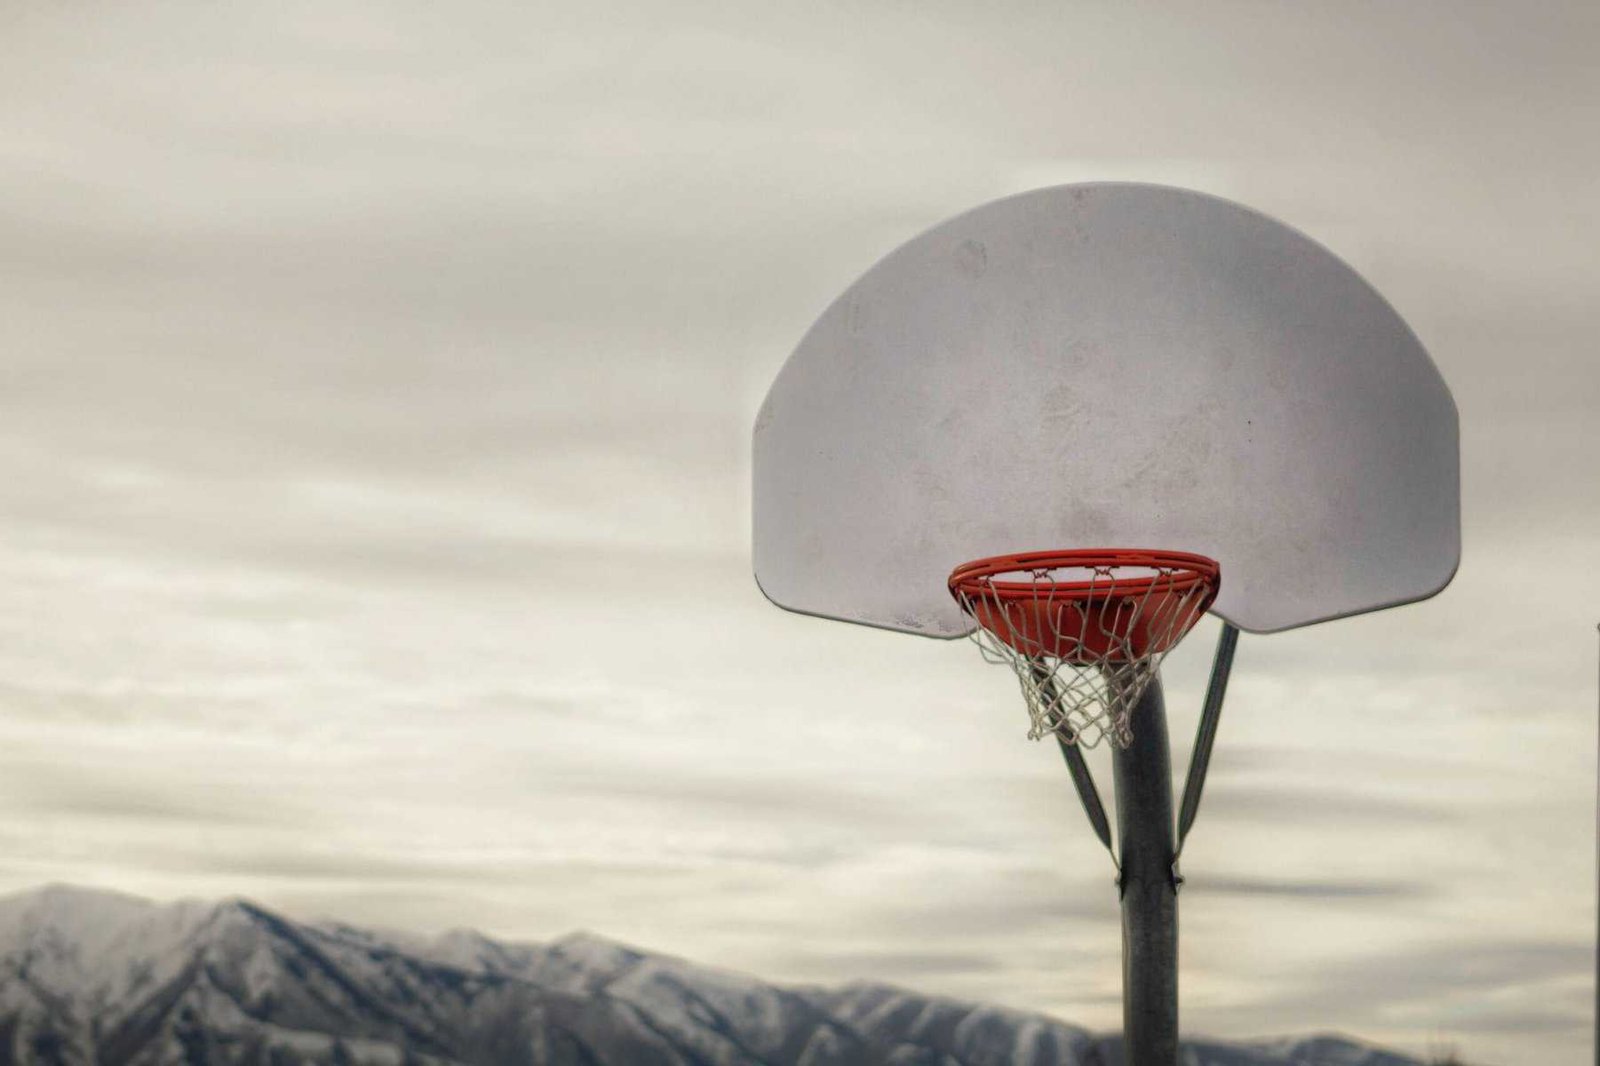
Sure, you’ve come to the right place! If you’ve been wondering how to mount a backboard to a wall, we’ve got you covered. Whether you’re setting up a basketball hoop for your backyard or installing a backboard in a gymnasium, we’ll provide you with clear and concise step-by-step instructions to get the job done. From gathering the necessary tools to ensuring proper alignment, we’ll walk you through each stage so you can confidently create a sturdy and secure wall-mounted backboard.

Tools and Materials
To mount a backboard to a wall, you will need the following tools and materials:
Backboard
The backboard is the main component of the basketball hoop system. Make sure you have a sturdy backboard made of either acrylic, polycarbonate, or tempered glass.
Wall Mounting Kit
A wall mounting kit typically includes the necessary hardware to securely attach the basketball hoop system to your wall. It usually consists of brackets, screws, and bolts.
Drill
A drill is essential for drilling holes in the wall and backboard for the mounting hardware.
Screwdriver
You will need a screwdriver to tighten the screws and bolts during the installation process.
Level
A level is important to ensure the backboard is properly aligned and straight during installation.
Measuring Tape
Using a measuring tape will help you determine the precise location for mounting the backboard and ensure proper spacing.
Pencil
A pencil is useful for marking the position of the backboard and drilling holes.
Stud Finder
A stud finder is necessary to locate the studs in your wall. Mounting the backboard into studs provides maximum stability and support.
Masking Tape
Masking tape can be used to mark the desired location of the backboard and help visualize the final placement.
Safety Glasses
It is important to wear safety glasses throughout the installation process to protect your eyes from any debris or flying particles.
Preparing the Wall
Before you begin mounting the backboard to the wall, there are a few steps you need to take to ensure the wall is ready for installation.
Locate the Studs
Using a stud finder, locate the studs in your wall. Mark their positions with a pencil.
Mark the Position
Hold the backboard against the wall in the desired position and use masking tape to mark the top and sides of the backboard. This will help you visualize the final placement and determine if any adjustments need to be made.
Check the Wall Surface
Inspect the wall surface to ensure it is clean and free from any debris. Remove any dirt or dust using a damp cloth.
Clear the Area
Clear the area around the backboard to ensure you have enough space to work. Remove any furniture, decorations, or obstacles that may interfere with the installation process.
Mounting the Backboard
Now that the wall is prepared, it’s time to mount the backboard.
Attach the Mounting Bracket
Attach the mounting bracket to the back of the backboard using the provided screws. Make sure the bracket is securely attached and aligned properly with the backboard.
Position the Backboard
Hold the backboard against the wall in the desired position, aligning it with the marks you made earlier. Make any necessary adjustments to ensure the backboard is level and centered.
Level the Backboard
Using a level, check if the backboard is perfectly level. Make any adjustments as needed.
Mark the Screw Holes
With the backboard in the correct position, use a pencil to mark the locations where the screws will go. These marks should align with the studs you previously located.
Pre-drill Holes
Using a drill, carefully pre-drill holes at the marked positions. Make sure the diameter of the holes matches the size of the screws you will be using.
Attach the Backboard
With the holes drilled, attach the backboard to the wall by inserting the screws through the mounting bracket into the pre-drilled holes. Use a screwdriver to tighten them securely.
Securing the Backboard
Once the backboard is attached, it’s important to ensure it is properly secured.
Tighten the Screws
Using a screwdriver, go through all the screws one more time and tighten them securely. This will ensure the backboard is firmly attached to the wall.
Test the Stability
Gently shake the backboard to test its stability. If it feels loose or wobbles, double-check the screws and make any necessary adjustments to ensure it is stable.

Optional Finishing Touches
To give your backboard a polished look, you can consider these optional finishing touches.
Paint or Stain the Backboard
If desired, you can paint or stain the backboard to match your personal preferences or the aesthetics of your outdoor space. Make sure to use paint or stain that is suitable for outdoor use.
Apply Protective Coating
To protect the backboard from the elements, you can apply a protective coating. This will help prevent fading, warping, and damage caused by sun and rain exposure.
Conclusion
Mounting a backboard to a wall requires careful preparation, precise positioning, and secure attachment. By following these step-by-step instructions and using the necessary tools and materials, you will be able to successfully mount a backboard to a wall. Remember to always prioritize safety, wear protective gear, and take your time to ensure a sturdy and stable installation. Get ready to enjoy countless hours of basketball fun right in your own backyard!


