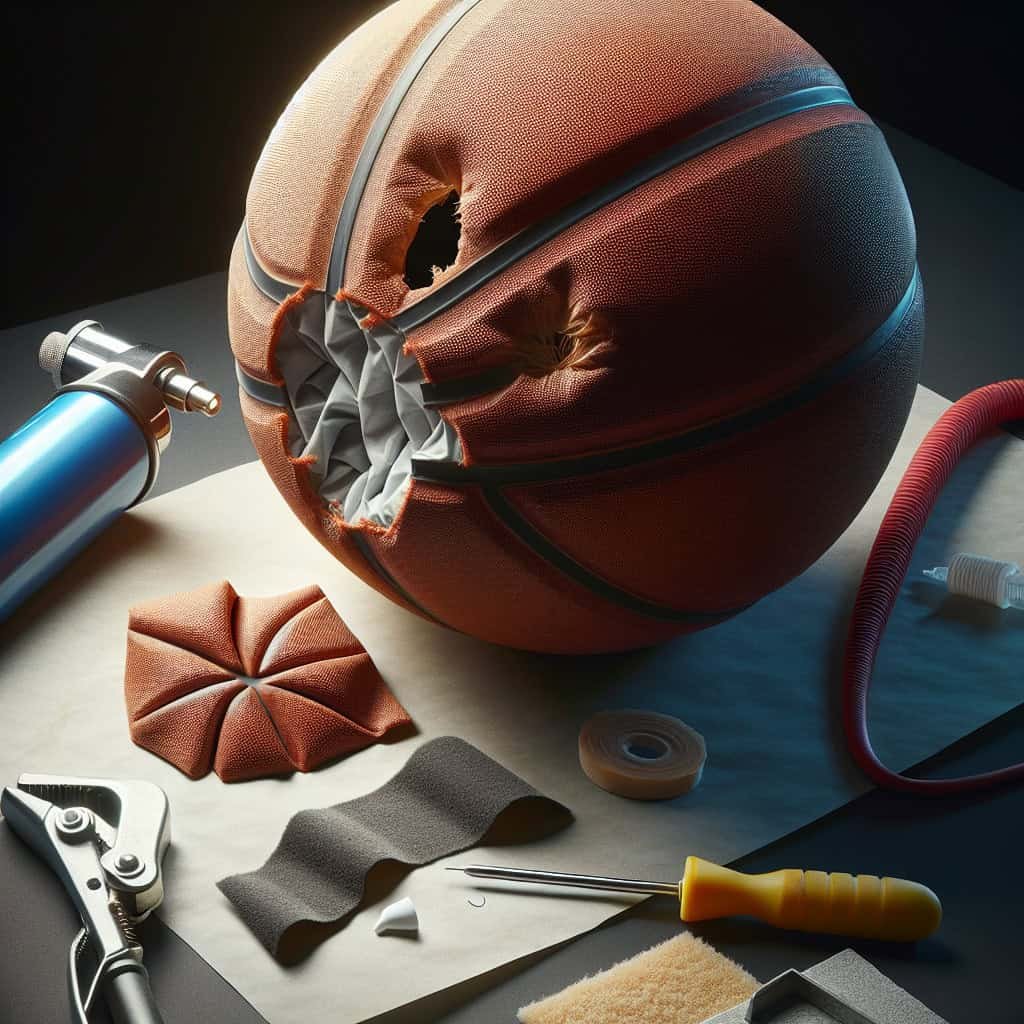
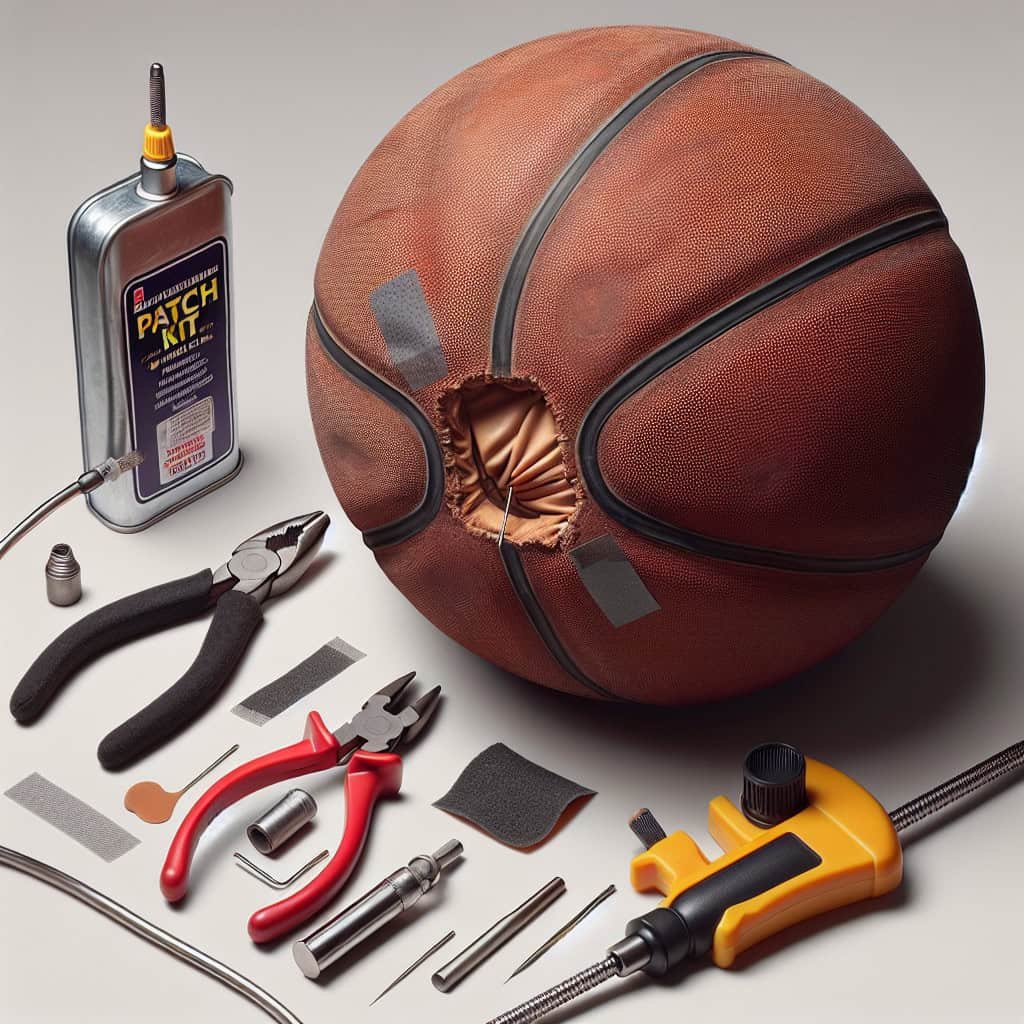
So, you’re out on the basketball court, ready to shoot some hoops, when suddenly you realize that your basketball has a puncture. Uh-oh! Don’t worry, though, because we’ve got you covered. In this article, we’ll guide you through the process of patching and repairing a punctured basketball, so you can get back to the game in no time. Whether you’re a basketball enthusiast or just someone who wants to keep their equipment in top shape, this handy guide will ensure that you are well-equipped to fix any puncture that comes your way. Let’s get started!
Patching and Repairing a Punctured Basketball
Basketball is a fun and exciting sport, but unfortunately, accidents happen, and sometimes our basketballs can get punctured or damaged. The good news is that with a little bit of know-how and a few simple steps, you can patch and repair a punctured basketball, extending its lifespan and saving you money on purchasing a new one. In this comprehensive guide, we will take you through each step of the process, from preparation to inflation, to help you get your basketball back in the game.
Preparation
Before diving into the repair process, it’s important to prepare the basketball and create a suitable workspace. Start by cleaning the ball with a mild detergent and warm water. Use a soft cloth or sponge to gently scrub away any dirt or debris from the surface. Rinse the ball thoroughly and allow it to dry completely before proceeding.
Next, find a suitable workspace where you can comfortably perform the repair. Make sure the area is well-lit and clean, free from any potential hazards that may cause further damage to the basketball or be a safety risk for you.

Identifying the Puncture
To effectively repair a puncture in your basketball, you must first identify the location of the puncture. There are two methods you can use to do this: visually inspecting the ball and inflating the ball.
Visually inspecting the ball involves closely examining the surface for any visible signs of puncture, such as a hole or tear. Look for areas where the material may appear stretched or damaged. If you locate a puncture visually, mark it with a small piece of tape or a pencil for easier repair later.
Alternatively, you can inflate the ball and listen for any hissing sounds, indicating air escaping from the puncture. Start by inserting a needle or pump nozzle into the ball’s valve and inflate it to a moderate pressure. Carefully rotate the ball and listen for any subtle sounds of air leakage. If you hear a hissing sound, mark the area as it likely indicates the location of the puncture.
Gathering Materials
Before you can start repairing your basketball, gather all the necessary materials. The most important item you’ll need is a reliable patch kit specifically designed for basketball repairs. These kits typically include adhesive patches, sandpaper, and detailed instructions.
In addition to the patch kit, you may also need a few additional tools to aid in the repair process. It’s helpful to have a pair of scissors for cutting the patch to size, a clean cloth or sponge for applying adhesive, and some tape or elastic bands to hold the patch in place while it dries.

Repairing a Small Puncture
Small punctures in a basketball can usually be easily repaired using a patch. Here is a step-by-step guide to repairing a small puncture:
Deflate the Ball: Remove the air from the ball by pressing the valve or using a tool to release the air slowly. Be careful not to damage the valve in the process.
Prepare the Patch: Select a patch from your repair kit that is slightly larger than the puncture. Use the sandpaper provided to gently roughen the surface around the puncture. This will help the adhesive bond more effectively.
Apply the Patch: Apply a thin layer of adhesive to the back of the patch and press it firmly onto the puncture. Make sure the patch covers the entire punctured area and extend it slightly beyond the edges for better reinforcement.
Wait and Press: Allow the adhesive to dry according to the instructions provided with your repair kit. Place a clean cloth or sponge over the patch and apply pressure for a few minutes to ensure a strong bond.
Inflate the Ball: Once the adhesive is completely dry, you can re-inflate the ball using an air pump. Check the ball for any remaining leaks by listening for hissing sounds or applying water to the patched area and looking for bubbles. If no leaks are detected, your basketball is ready to be used again.
Repairing a Large Puncture
Repairing a large puncture, such as a substantial hole or tear, may require some extra steps and reinforcement. Follow these instructions for repairing a large puncture in your basketball:
Deflate the Ball: Release the air from the ball using the same method as for small punctures. Make sure the ball is fully deflated before proceeding.
Reinforce the Puncture: For larger punctures, it can be beneficial to reinforce the damaged area with a strong adhesive. Apply a layer of adhesive around the edges of the puncture, extending it beyond the damaged area. This will create a more secure surface for the patch to adhere to.
Prepare the Patch: Cut a patch from your repair kit that is large enough to cover the entire damaged area, with a little extra overlap. Use the sandpaper to roughen the surface around the puncture and on the back of the patch for better adhesion.
Apply the Patch: Apply adhesive to the back of the patch and press it firmly onto the punctured area, ensuring it covers the entire damaged area and the reinforced edges. Smooth out any air bubbles or wrinkles.
Wait and Press: Allow the adhesive to dry completely, following the instructions outlined in your repair kit. Place a cloth or sponge over the patch and apply pressure to ensure a strong bond.
Inflate the Ball: Once the adhesive is dry, you can re-inflate the ball carefully. Check for any remaining leaks and ensure the patch holds securely. If the ball holds its inflation and shows no signs of leaks, it is ready to be used again.

Repairing a Seam Tear
Seam tears can be a bit more challenging to repair but are still manageable with some patience and attention to detail. Follow these steps to repair a seam tear in your basketball:
Deflate the Ball: Remove the air from the ball as described earlier to create a suitable surface for repair.
Reinforce the Seam: Seam tears can be repaired by reinforcing the damaged area with adhesive. Apply the adhesive to both sides of the torn seam, making sure to cover the entire length of the tear. Press the two sides of the seam firmly together and hold them in place for a few minutes to help the adhesive bond.
Prepare the Patch: Cut a patch from your repair kit that is wide enough to cover the reinforced seam and a little extra on each side. Roughen the surface of the patch and the area around the seam tear using the sandpaper provided.
Apply the Patch: Apply a layer of adhesive to the back of the patch and press it firmly onto the seam, covering the entire repaired area. Smooth out any air bubbles or wrinkles.
Wait and Press: Allow the adhesive to dry according to the instructions provided with your repair kit. Apply pressure over the patch using a cloth or sponge to ensure a strong bond between the patch and the ball.
Inflate the Ball: Once the adhesive has fully dried, re-inflate the ball and check for any remaining leaks or issues with the repaired seam. If everything looks good, your basketball is ready to be used again.
Repairing a Valve Leak
If you notice air leaking from the valve of your basketball, there are a few simple steps you can take to repair it:
Apply Lubricant: Start by applying a small amount of lubricant, such as petroleum jelly or silicone grease, to the rubber O-ring around the valve. This can help create a better seal and prevent air from escaping.
Reinsert the Valve: Gently remove the valve from the ball using a valve removal tool or by carefully unscrewing it by hand. Clean any dirt or debris from the valve and the valve opening in the ball. Apply a thin layer of adhesive to the valve and reinsert it firmly into the ball, making sure it is properly aligned.
Inflate the Ball: Re-inflate the ball using an air pump and check for any remaining leaks around the valve area. If the valve holds the air well, your repair is complete, and you can move on to the next step.

Inflating and Testing the Ball
With your basketball repaired, it’s time to give it a test to ensure it is fully adjusted and ready for play. Here are a few key steps to follow during the inflation and testing process:
Using an Air Pump: Inflate the ball to the desired pressure using an appropriate air pump. Follow manufacturer instructions for proper inflation levels, usually ranging between 7.5 and 8.5 pounds per square inch (PSI).
Checking the Pressure: After inflation, check the pressure of the ball with a pressure gauge. This will ensure that you have reached the desired level of inflation and that there are no further leaks or issues with the ball.
Testing the Ball: Bounce the ball on a suitable surface and observe its behavior. A properly repaired basketball should respond as expected, have consistent bounce, and hold its inflation without any noticeable leaks or air loss.
Maintaining the Ball
To prolong the lifespan of your basketball and minimize future damage, it’s important to practice proper ball maintenance. Here are a few tips to help you maintain your basketball:
- Keep the ball clean by regularly wiping it down with a damp cloth and mild soap.
- Avoid exposing the ball to extreme temperatures or harsh weather conditions.
- Store the ball in a cool, dry place away from direct sunlight when not in use.
- Inspect the ball before each use to identify any signs of wear or damage.
- Take care when handling and using the ball to avoid unnecessary impact or rough treatment.
- Consider investing in a ball pump to maintain optimal inflation levels over time.

Tips and Tricks
In addition to the comprehensive guidance provided above, here are a few additional tips and tricks to help you patch and repair your punctured basketball:
Prevention is Key: Avoid playing with your basketball on rough surfaces or where it may come into contact with sharp objects. Taking preventive measures can significantly reduce the chances of your ball getting punctured or damaged.
Know When to Replace: While proper repair techniques can help extend the life of your basketball, there may come a time when it is beyond repair. If your basketball has multiple punctures, severe tears, or a deteriorated surface, it may be best to replace it with a new one.
Ask for Professional Help: If you are unsure about the repair process or encounter any difficulties along the way, don’t hesitate to seek professional assistance. Sporting goods stores or repair shops specialized in basketball equipment can provide expert advice and services to ensure your basketball is repaired correctly.
By following these steps, you’ll be well-equipped to patch and repair a punctured basketball. With a little patience and attention to detail, you can enjoy your favorite sport without interruptions caused by a damaged ball. So, gather your materials, prepare your workspace, and bring your basketball back to life – it’s time to get back in the game!

